Ice Cave Photography - How To
- Heading North

- Feb 14, 2020
- 4 min read
Glacial Ice Caves are definitely one of the most fascinating and unique natural phenomenons, and very often the photographs do not do them justice. If you are planning a trip to Iceland or some other winder wonderland destination and you aim at taking some photographs of the Ice Caves, here is our Guide to Photographing the Ice Caves.
We always advise all who wish to visit the Ice Caves to do with safety in mind. If you do not have the appropriate safety equipment and knowledge, also book a tour through a trusted guiding company. Yes, this can mean you are rushed and surrounded by many people, but there are some companies who specialize in small or private tours suited for photographers.

Equipment We are firm believers that the equipment does not determine the final quality of a photo, however, there are definitely some things that you can bring, which will go a long way at improving your ice cave photography.
TRIPOD - Weather you are shooting with a DSLR, Mirrorless, or even your phone the basics remain. You want a stable platform for your camera. Depending on the weather, the conditions of the ice, as well as the thickness of the ice. These factors can greatly influence the amount of light in the caves. Sometimes they can be bright and blue, and at other times they can appear black. In addition to the quantity of light, ice caves often have running water inside and this can make for a great long exposure.
WIDE ANGLE LENS - We have tried using many different lenses, and even though having a zoom can be great for detailed shots of the ice, we found that a wide angle 24mm or wider puts things into perspective and manages to capture more. Many Ice Caves can be quiet small and a wide angle is great for this.
LIGHT / TORCH - Most companies will provide you with a headlight, but it's always a good idea to bring your own light source. This can be great for highlighting people in the photos and will help you with using your camera in the dark.
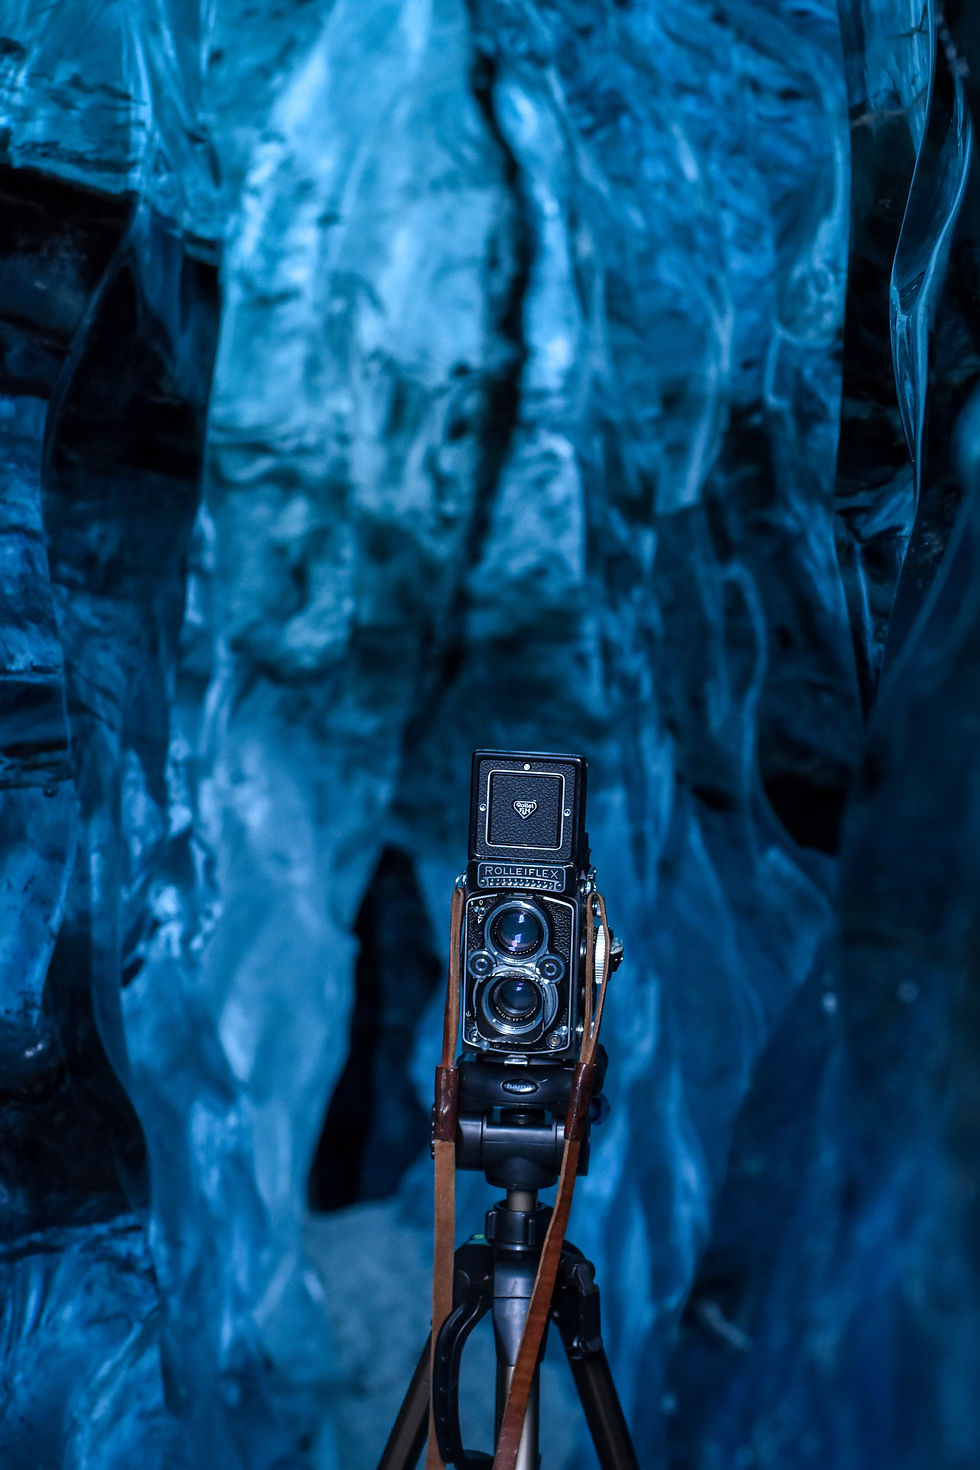
Camera Settings
Shooting in Raw and Manual mode is key to getting the most out of your Ice Cave photography. Of course, different situations will influence the precise settings you will be using, nevertheless, here is a rough guide.
Aperture
Ice Caves can be small and crammed or they can be large and open. In both examples you will be amazed by the amount of detail you will find. Shooting a high aperture (F-Stop) such as 9 or higher will help keep more in focus. Of course, such a high F-stop will also mean that you will need to take longer exposures to capture enough light and this creates a small problem (blurry and shaky photos). This is why we recommend that you bring a tripod and this is also our next point.
Tripod and a Timer
As mentioned above we will need to increase the exposure length (the amount of time the camera is taking the photo) and if the camera is not perfectly stable, this will lead to some ugly and shaky photos. If you mount your camera on a tripod, this will not only help with compositions, but will also allow you to increase exposure time. Pro tip - Put a timer on your camera of 2 to 5 seconds so that camera can stabilize after you press the trigger / shutter.
ISO
It is perhaps common knowledge that low ISO will increase quality of your photos and if you use a tripod you should have no problem shooting at ISO 200 or even 100. The only time this might change, and you might need to use a slightly higher ISO is if you have a model in your photo. If the photo shutter time is too long, the subject might move slightly, therefore coming out blurry in the photo. In the case that you increase your ISO we recommend that you do not go over 1000 ISO, as often in post production you will be pulling up the shadows and this can create some displeasing grain.
Manual Focus Limited light as well as virtually infinite details in the Ice Caves can prove to be quiet a challenge for the auto focus on most cameras. There is perhaps nothing more annoying than returning home to edit your photos, only to find out that your favorite shot is out of focus. In addition, if you are choosing to include some foreground while using high F-stop it is a good idea to focus on the foreground.

Composure and Framing
Using a model (your friend) and including them in the photo is a great way to show scale and to add the sense of adventure in the photograph. Weather you shoot landscape or portrait, it is also a good idea to either center your subject or to use the rule of 3rds.
More Ice & Less Rocks
Often we see images where the photo is equally divided between the beautiful blue ice, and the much more boring rocks. The real magic of the caves is the ice, so if you can choose, shoot further up than down. Include more ice in the photos and less rocks.

Don't Forget the Details
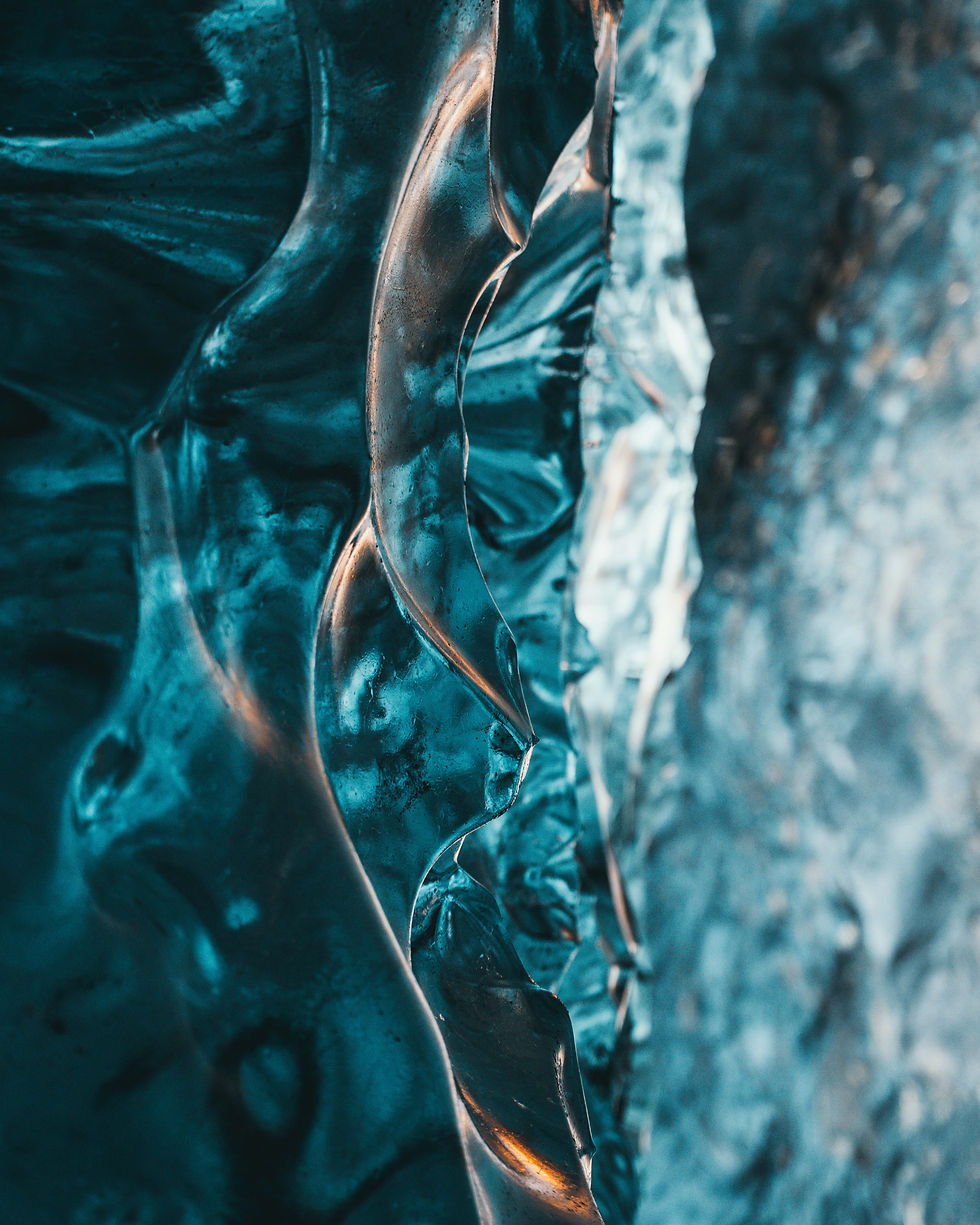
We have all (well most of us) seen the photographs of the small person staring at the ice above in awe. While this is a great way to show scale, and the atmosphere of the Ice Caves, it often lets the little details unnoticed. Here are some images of details which we think rarely get taken, but nonetheless are magnificent.
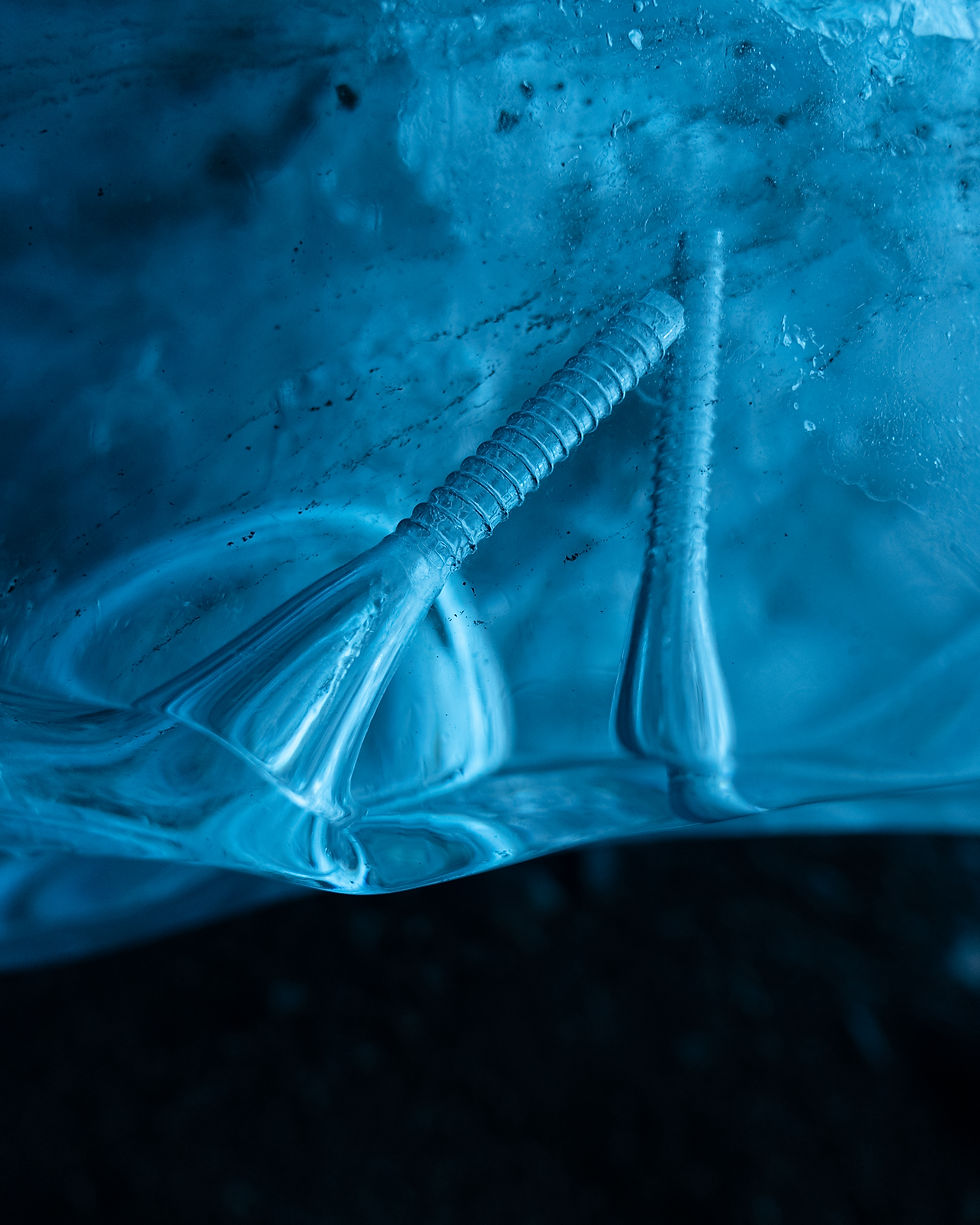
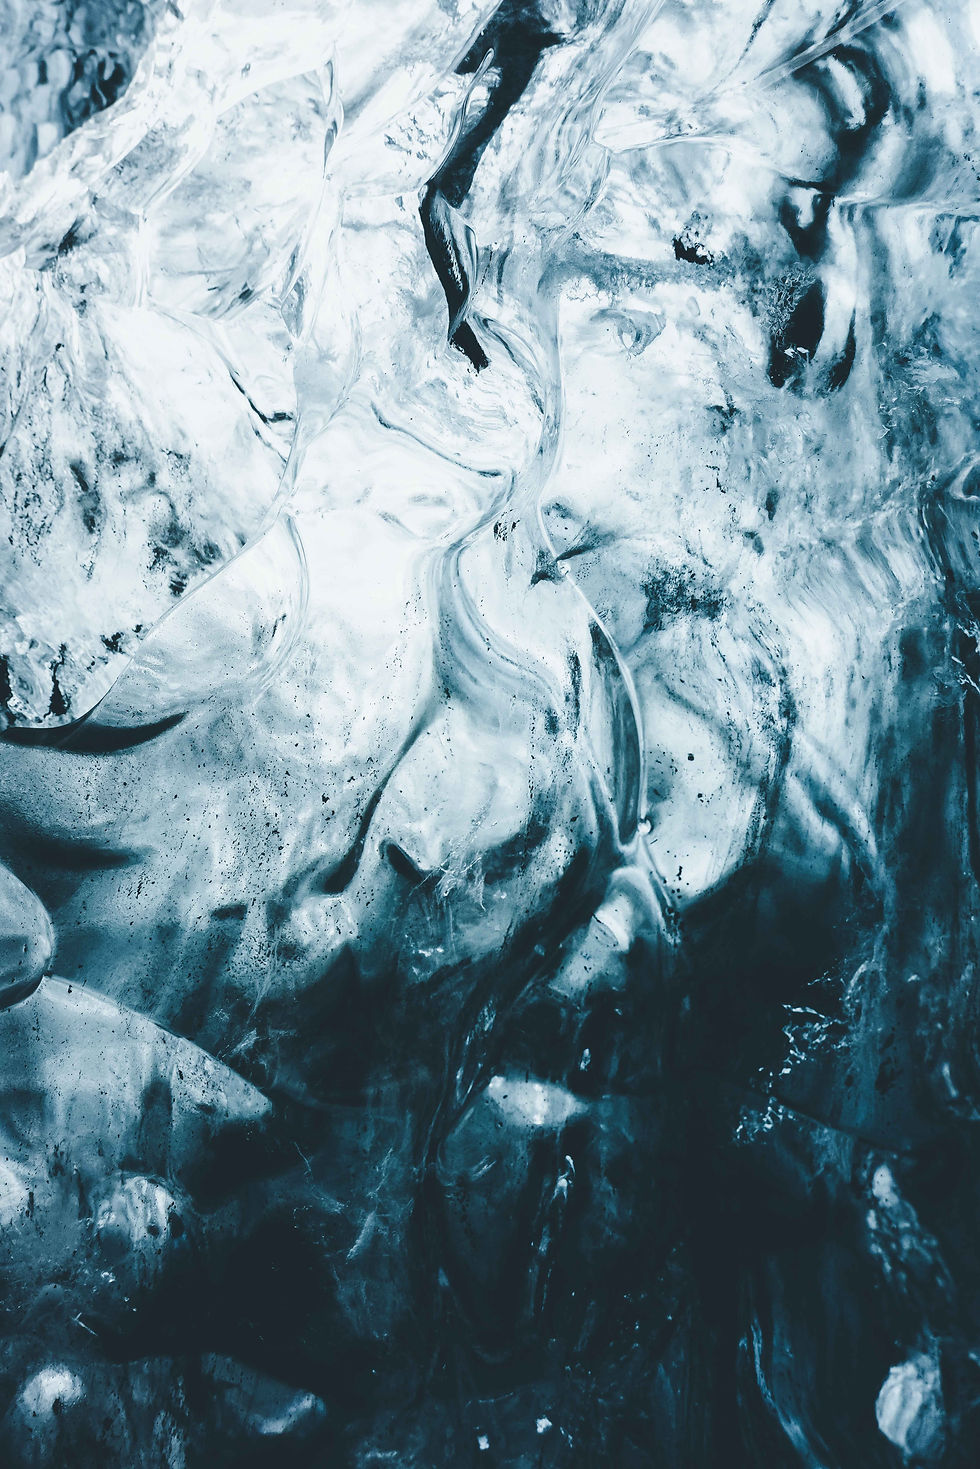
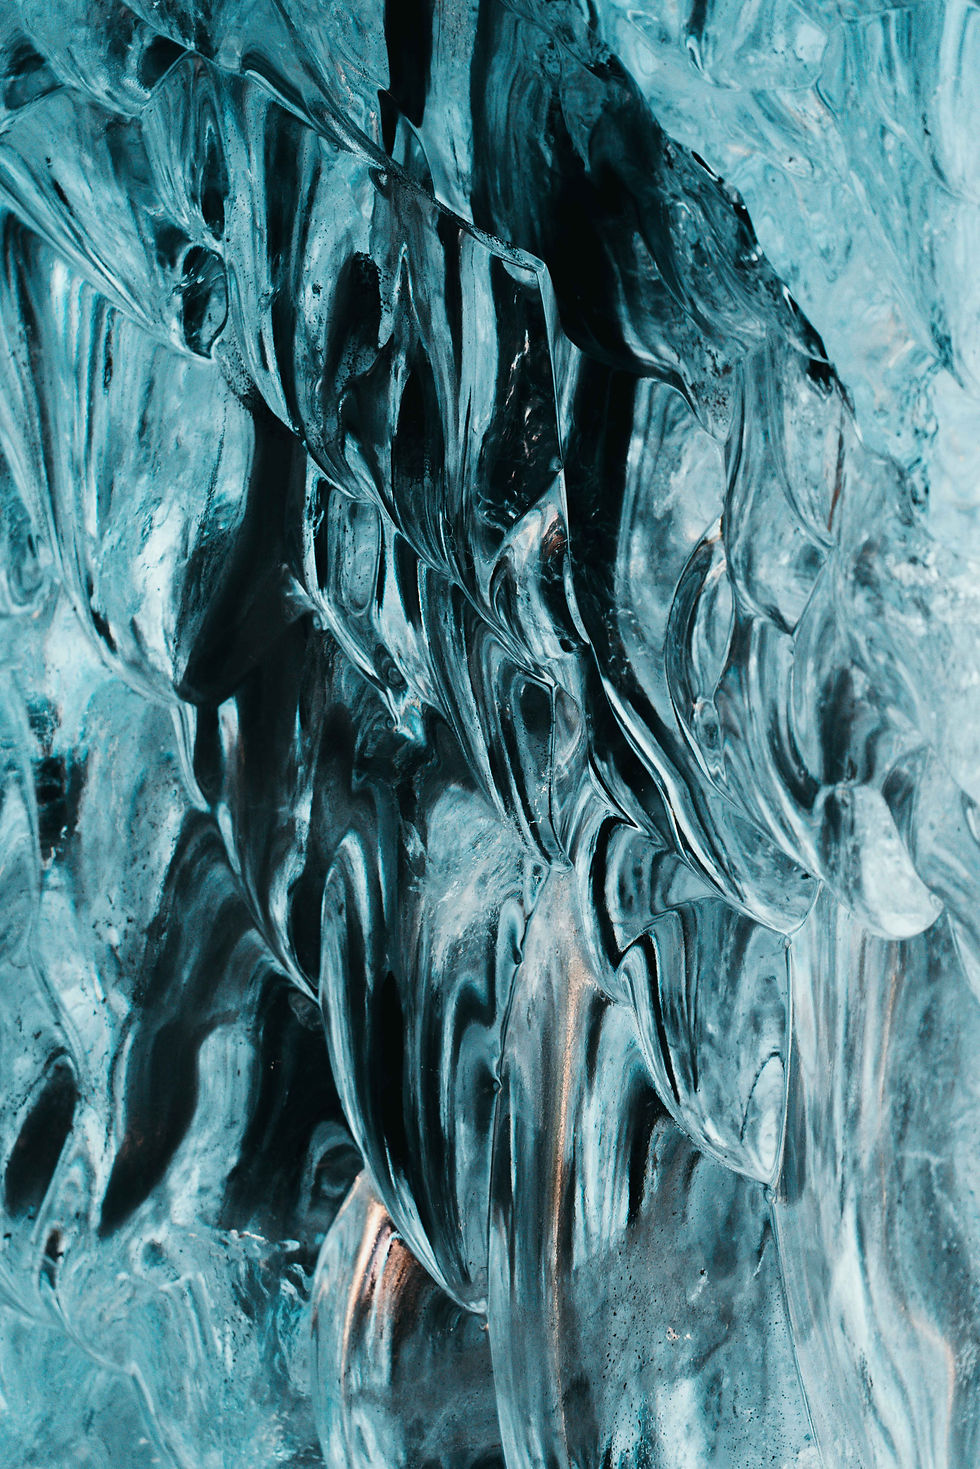
Do you have any other questions? Think we missed something? Want us to create a blog about how to edit ice cave photos?
Write to us at info@headingnorth.is and we will answer your questions.


Comments